Getting Started
How to setup and use your new Virtual Private Server (VPS)
This guide will go over how to get started with your new VPS! You'll need to set it up with an operating system (OS) before you're able to use the VPS
Accessing the control panel
There are 3 ways you can access the VPS Control panel.
- The VPS panel is always accessible via https://virt.aurorahosts.com
- Accessing the VPS Panel via PhotonDash
- Accessing the VPS Panel via the billing area
Accessing the VPS via PhotonDash
PhotonDash is our custom built dashboard which allows you to login and access every panel we offer via one convenient site. You can read more about it here
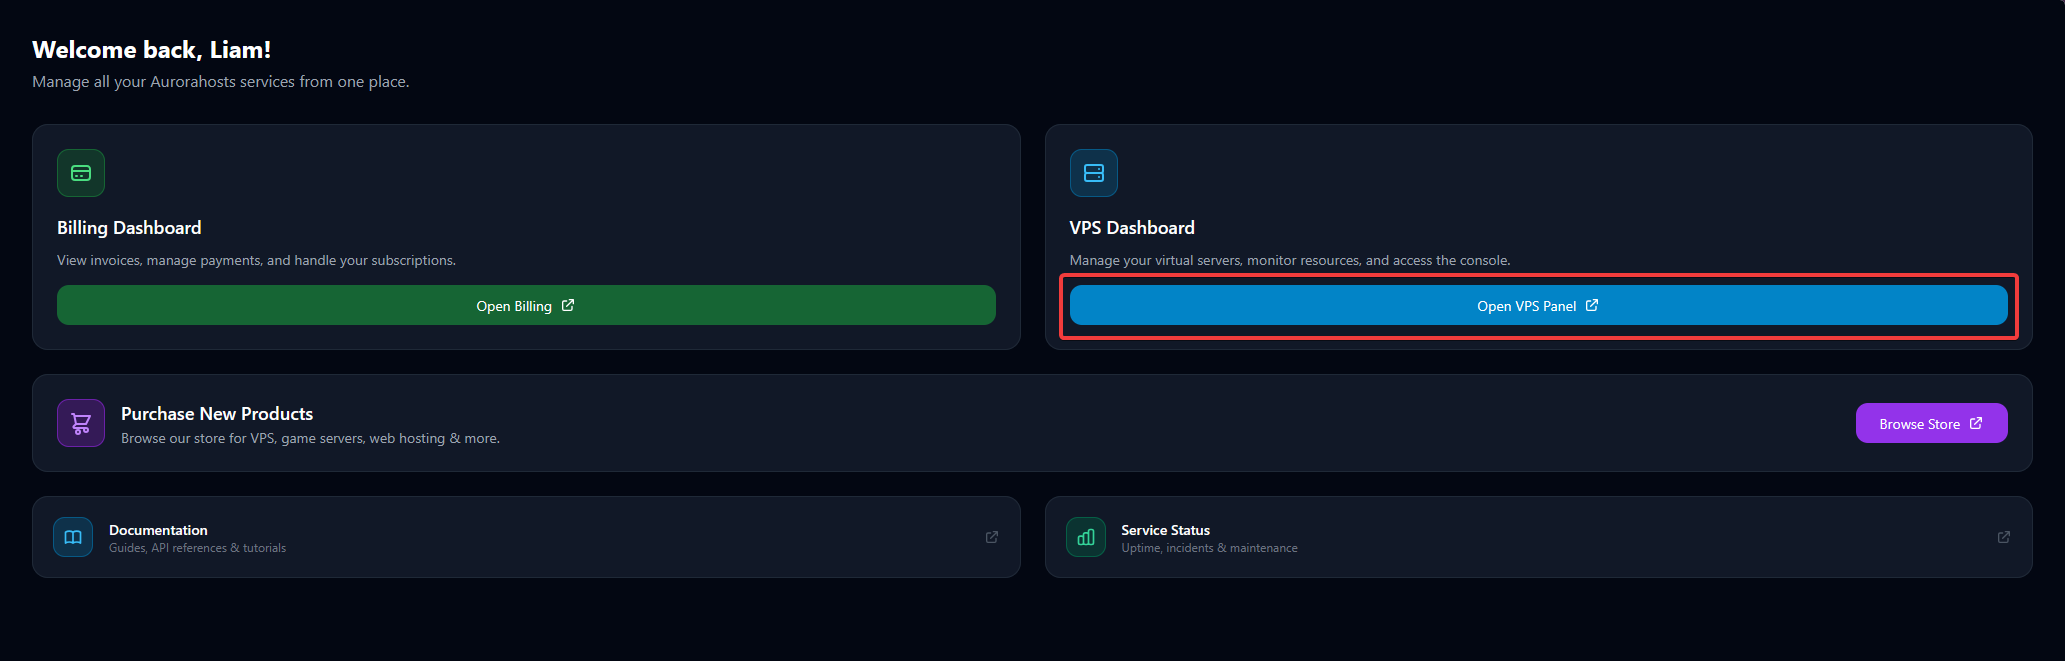
To access the VPS panel via PhotonDash follow these steps:
Login to PhotonDash
When logging in you'll be redirected back to the billing area to authenticate yourself. Once authenticated you can access the main page of PhotonDash
Accessing the VPS via the billing area
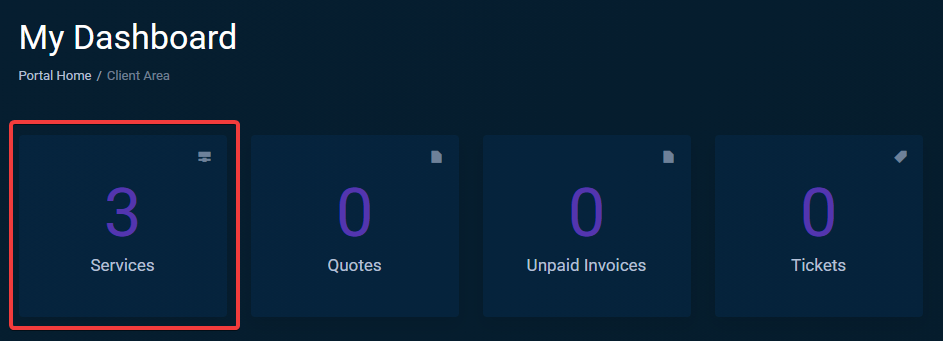
Getting started on the dashboard!
On your Dashboard in the billing area click on the Services box
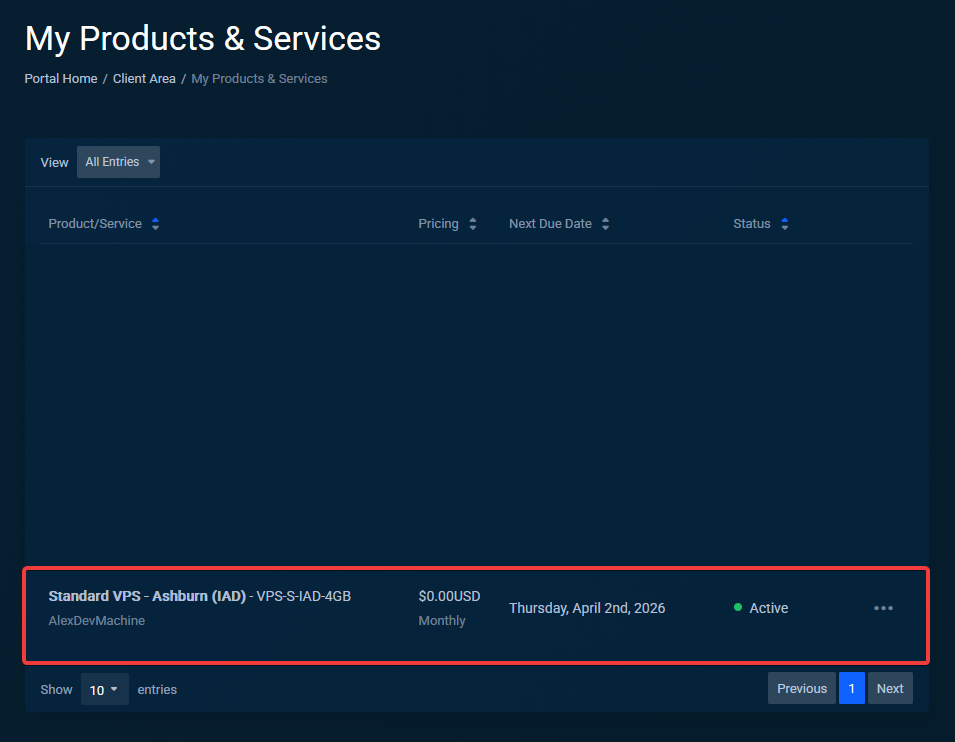
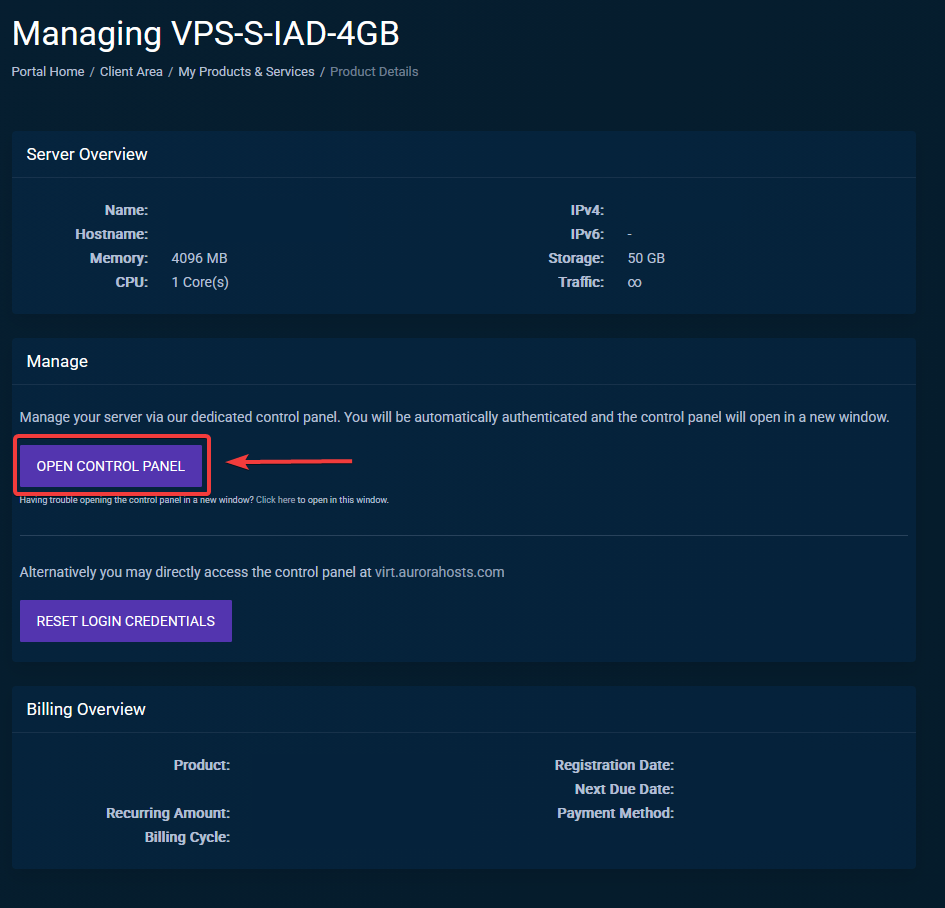
Accessing your service
Click on the VPS you'd like to manage, in our case It's Standard VPS - Ashburn (IAD) - VPS-S-IAD-4GB
Click on Open Control Panel
Clicking that magical button will log you in to the VPS panel automatically!
Setting up your VPS
Congrats! You're now logged into the VPS panel, you're now 1 step closer to your VPS being usable!
The next few steps will go over what you need to complete the rest of this setup:
Overview
This is an overview of the setup page:
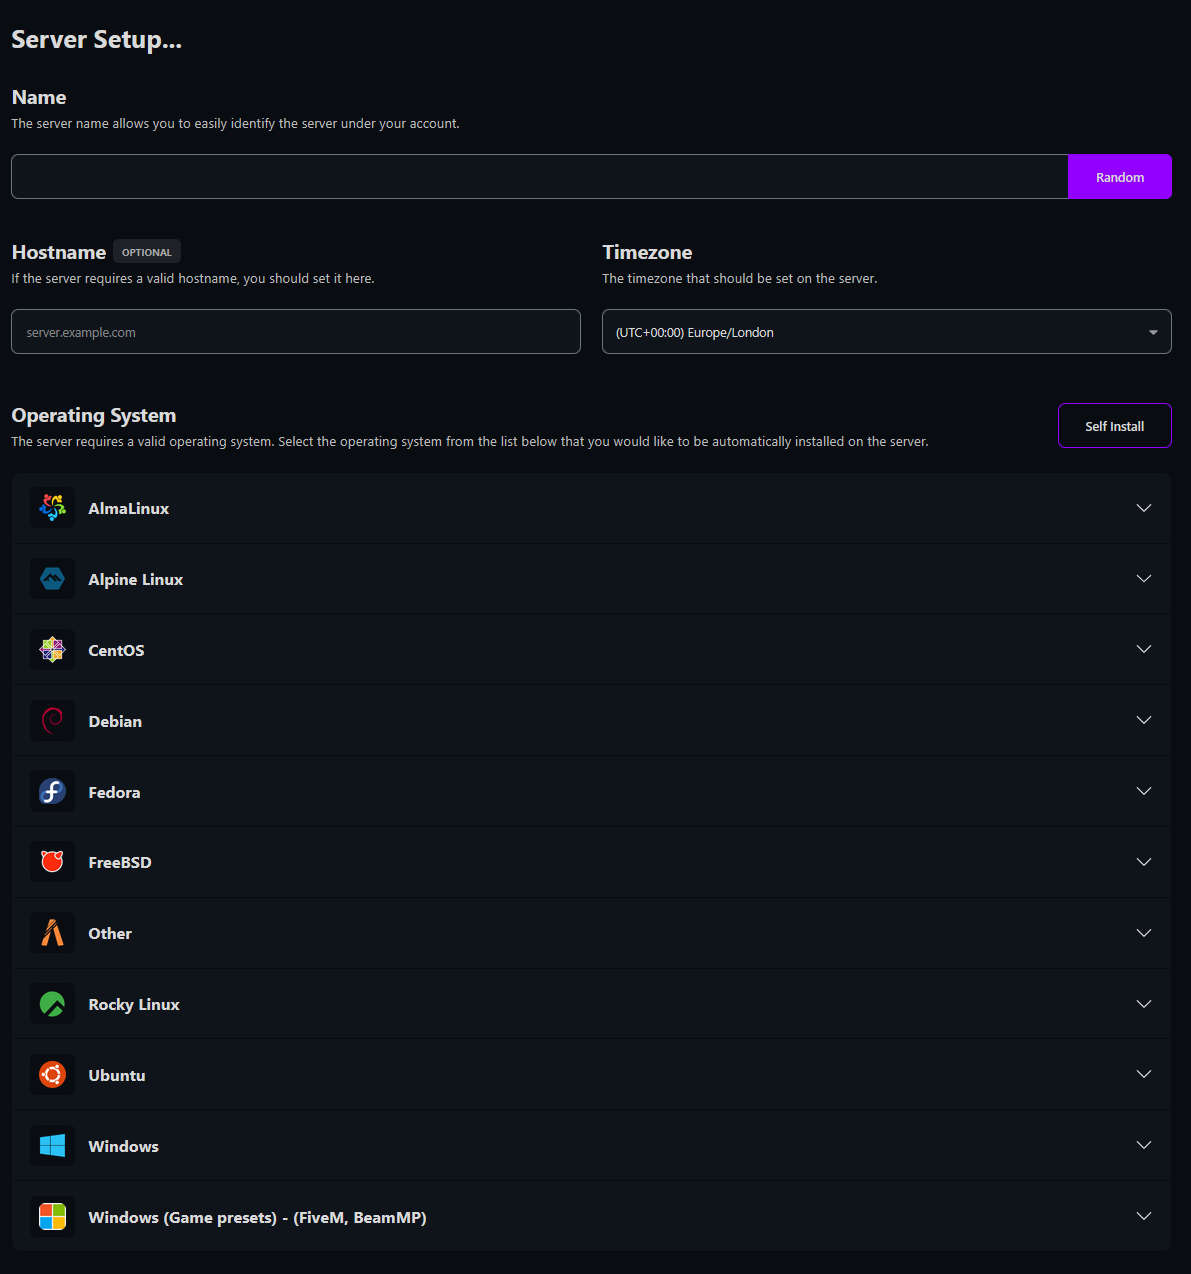
Picking a name (Required)
Now that you have a VPS you need to name it! You could name it anything like, Alex, Liam, Ben or even Matthew! We're not all creative though (me as well) so if you can't think of a name just click the Random button!

Selecting a Hostname and Timezone (Optional)
This step is optional, you are not required to add a hostname or pick a timezone. But if you want to you can, nothing's stopping you, not having your VPS in a UTC timezone setting when you're in Toronto would be nice :D

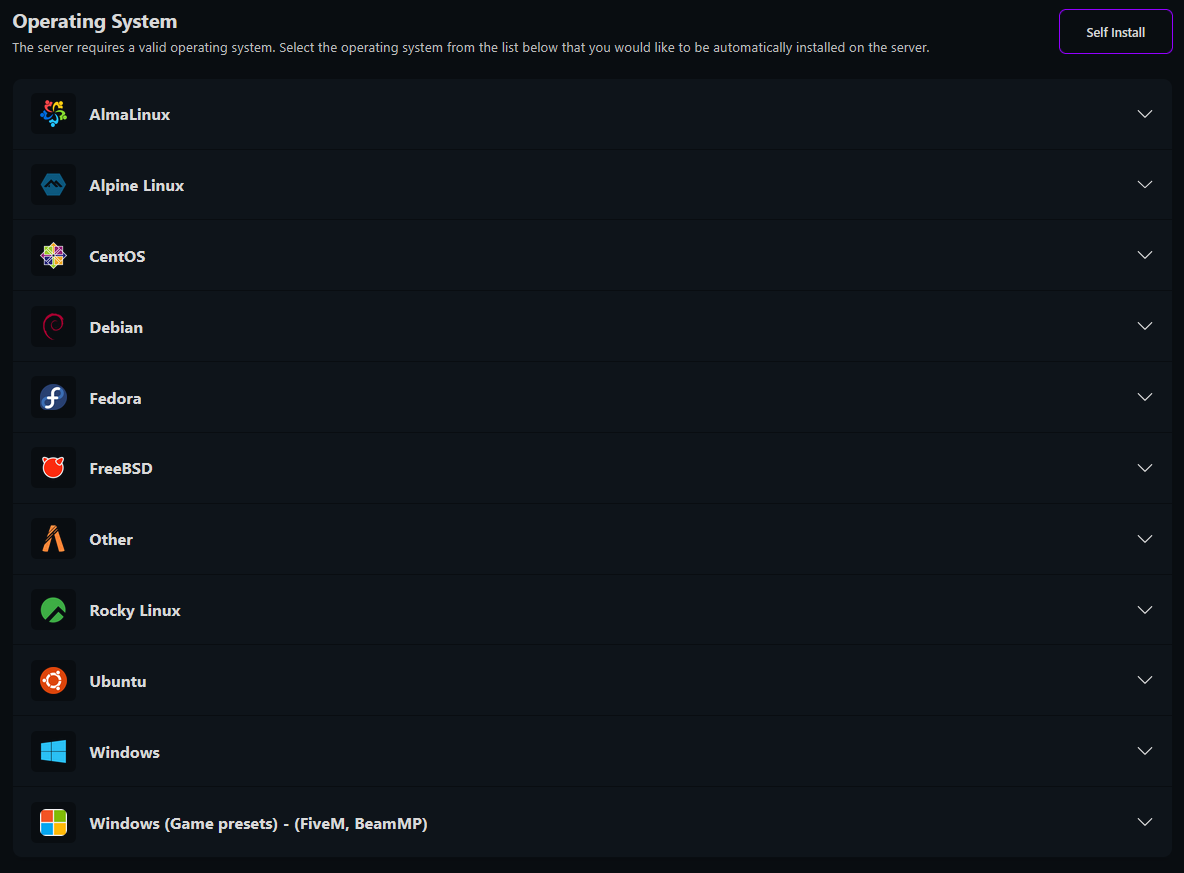
Picking an Operating System (Required)
There's a whole lot of choice here, you can select any Linux or Windows operating system. If the operating system you want isn't listed here you can click the Self install option at the top right of the page.
Windows users
Please do note that Windows operating systems are offered on a Bring your Own License (BYOL) scheme.
All done (Unless you picked Linux)
Click the install button at the bottom of the page and you're all set! You'll now receive an email containing your IP, Username and Password In about 3-5 minutes

Hello Linux users
If you're a Linux user you'll have some extra options, those will be covered here